
🤔Application Tape For Self-Adhesive Vinyl: How To Choose It
🤔Application Tape For Self-Adhesive Vinyl: How To Choose It

The carrier sheet for self-adhesive or sign vinyl will be your great ally. If you are new to personalising with sign making vinyl and you are not sure about the type of transfer tape you need, we are here to help you.
What is a vinyl carrier sheet?
A carrier sheet, also known as transfer or application tape for vinyl is an adhesive film. They are used to transfer your vinyl design to the surface where you want to apply it.
When choosing a transfer tape, you have to pay attention to the tack level and the roll format you need. Keep reading to find out more about all the factors that affect this decision.
At Brildor, we recommend the application tapes made in Germany by Poli-Tape. They can be applied while wet and conform perfectly to the surface without curling, wrinkling or stretching. They also maintain their application properties even after a long period of storage. Another advantage is that they are all supplied on rolls with a cardboard core (inner tube). They are easy to handle and store.
Which carrier sheet do I need?
When selecting the right transfer tape for self-adhesive, sign making or cut vinyl, there are several key elements to be considered:
The first thing is choosing the tack level (Low-Medium-High). But that depends on the surface on which you want to apply the vinyl. You have to make sure the surface tack level of the vinyl is higher than the tack level of the application tape. Also, the adhesion of the transfer tape should be the highest possible. This way, you will be able to work quickly and efficiently. Let's take two handy examples:
a) If you want to stick a design on glass, you can use a high tack carrier sheet, as vinyl also has very high adhesion to glass.
b) However, if you want to apply the vinyl on a wall, you will have to choose a low tack transfer tape. In this case, by picking a high tack tape you run the risk of tearing off the newly applied vinyl when you remove it.
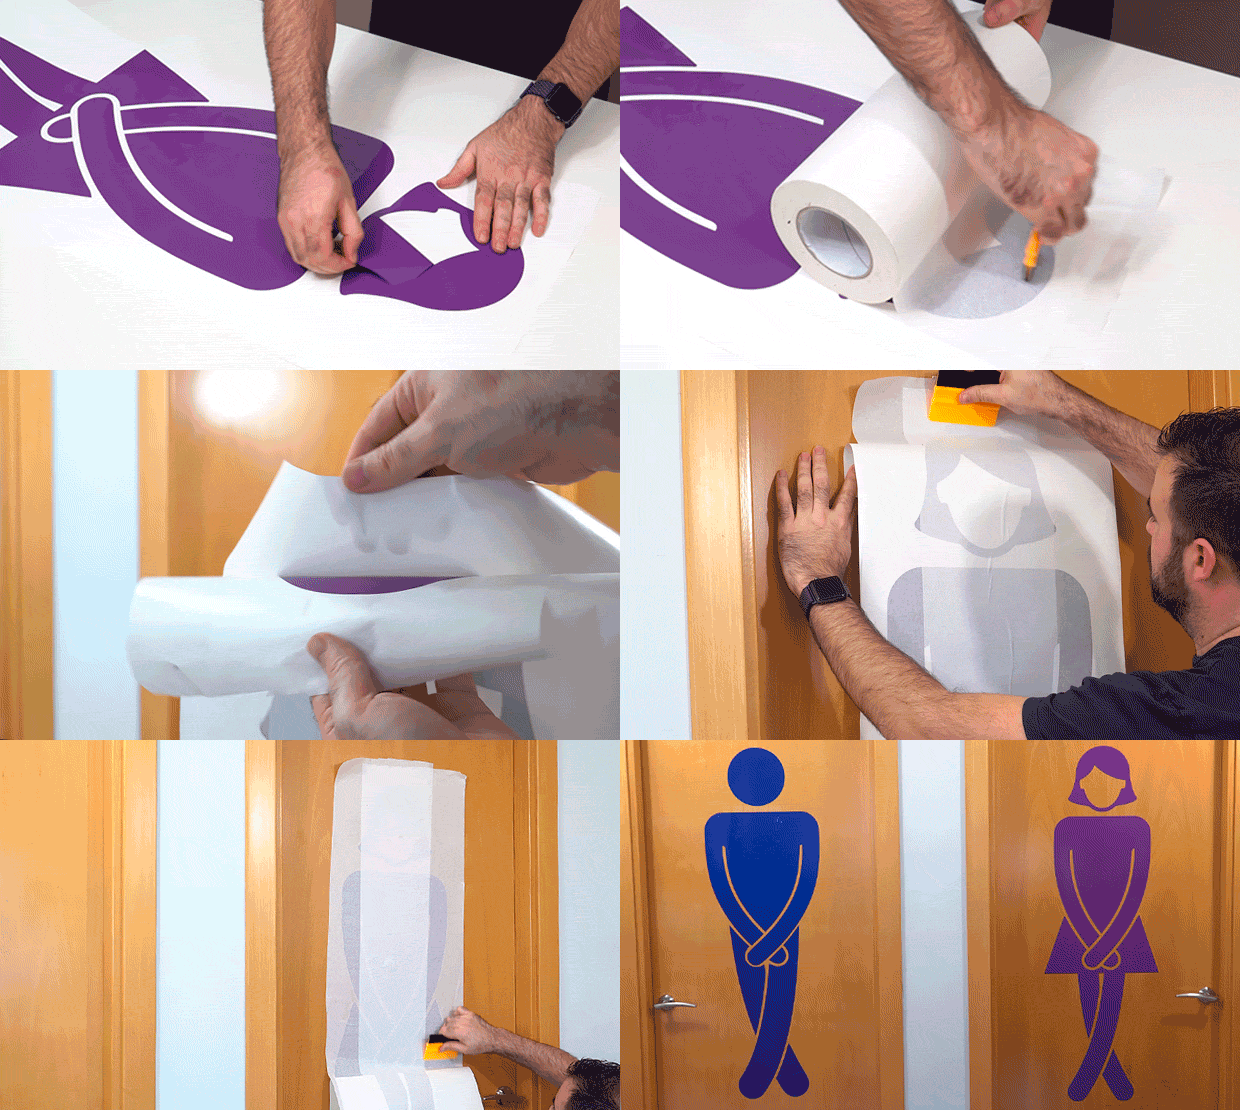
The texture of the film is also crucial. Textured or matte vinyls are difficult to stick. This is why you should choose a high tack one.
Transparency is another factor, as this helps to position the vinyl where you want to apply it. Obviously, the film is more transparent, and the paper one is translucent. Some application tapes come with a grid backing (also called liner) to make applying the vinyl a lot easier.
Consider whether you should use a transfer tape with liner, available in all three tack levels. They are very useful when it comes to organising the work in large mass productions, as you can pre-cut it and have it ready to use. Application tapes that do not have this backing must be applied directly from the roll.
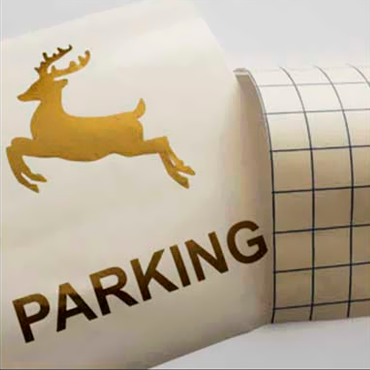
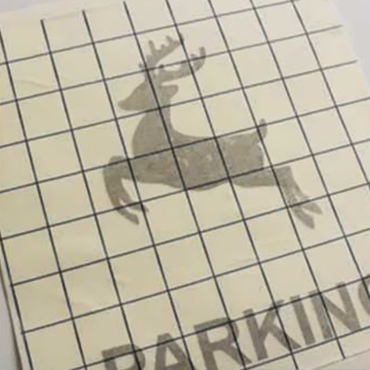
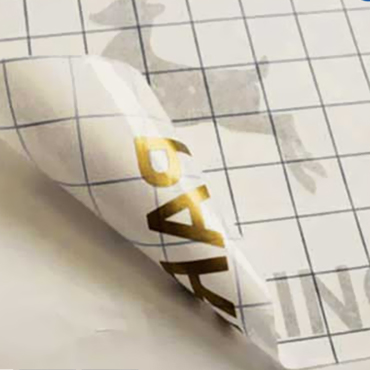
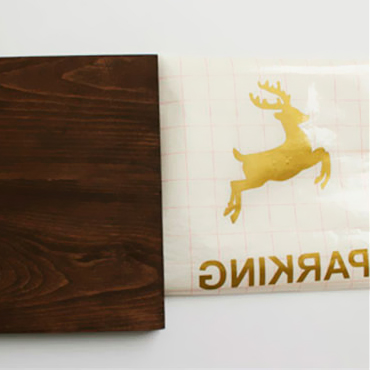
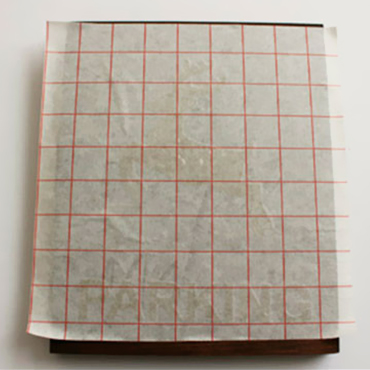
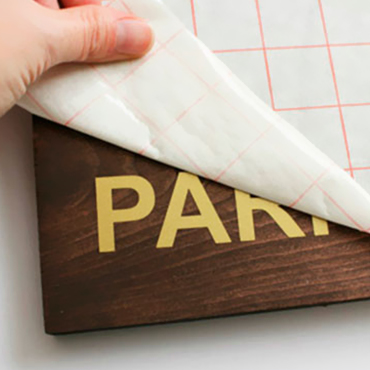
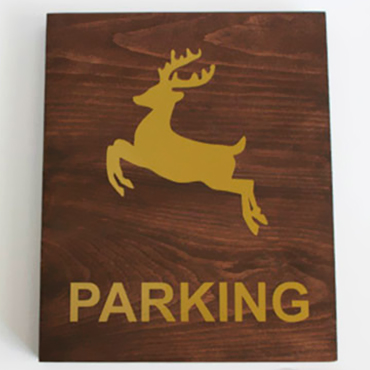
Furthermore, if you are environmentally conscious, you should know that the paper carrier is a more environmentally friendly waste. Film, on the other hand, can be reused more often.
Finally, we must mention the flock application tape. It’s perfect if you work with non-smooth textured vinyl, both adhesive and textile.
This transfer tape was designed for flock HTV, thanks to its dotted textured surface that doesn't damage the film when peeling it off. However, it also works with fabric and glitter vinyl or with other textures.
Another of its advantages is the resistance to high temperatures, ageing and UV rays. Moreover, its relief makes weeding easier.
When storing it, it should be stored vertically, in a cool, dry place and protected from the influence of light. The storage period should not exceed 24 months.
Comparison table
Check out this chart to learn about the available types of application tapes for self-adhesive vinyl. This way, it will be easier for you to quickly identify the one that suits you best:

How to use a transfer tape
These are general guidelines and may vary slightly depending on the transfer tape you have picked. Also, if you do the wet or dry application method.
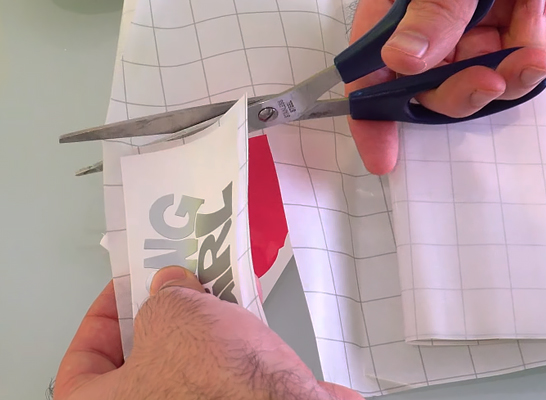
1. First, peel off a part of the application tape and stick it onto the cut and weeded vinyl. As you know, we have a wide range of cut and printable cut vinyl to choose from in our shop.
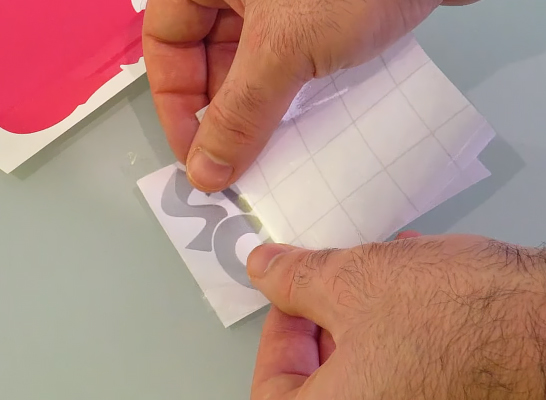
2. Make it stick to it with the help of a spatula to avoid bubbles
If it comes with a liner, you will have to remove it while you apply it on the vinyl. For smaller jobs, take the entire liner off before applying it. Slowly pull the transfer tape apart so that the vinyl separates from the liner.
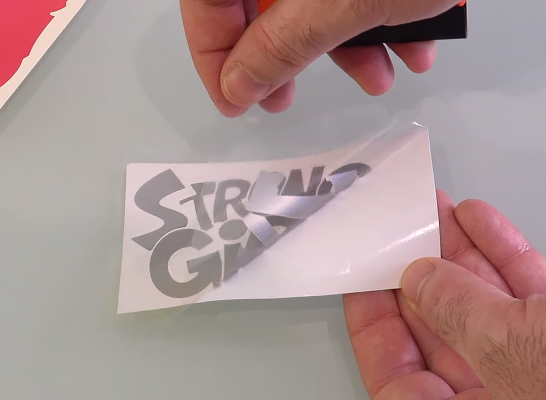
3. Now, slowly lift the application tape. You will see how the design sticks
4. Place the application tape with the vinyl on the surface where it’s going to be applied
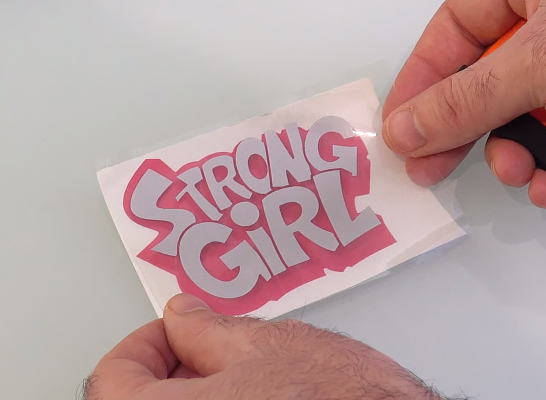
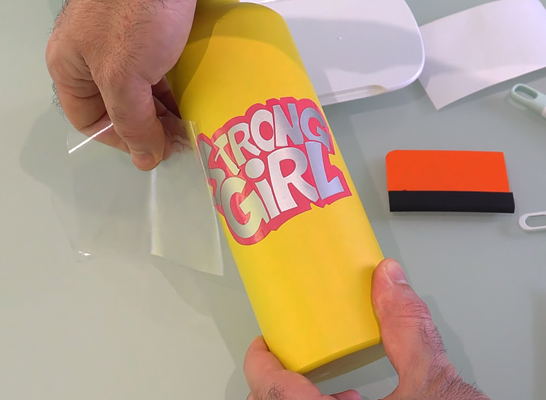
5. Press with a scraper to remove any bubbles and fix it correctly
6. Carefully peel off the transfer tape, making sure the vinyl is has properly adhered. If there are any bubbles left, continue rubbing with the spatula, so the design will not come off.
Conclusions
What is a vinyl carrier sheet?
A carrier sheet or transfer tape is an adhesive film. They are used to transfer the vinyl design to the substrate where you want to apply it.
How to choose a transfer tape for self-adhesive and sign vinyl
There are several factors to be considered when choosing an application tape for sign vinyl, whether it’s printable or not: its tack level, transparency, texture, size and with or without liner.
How to use a carrier sheet
Peel off a part of the tape and stick it on the vinyl with the help of a spatula. Slowly lift the application tape and, once it is completely off, stick it on the desired surface. Carefully remove the transfer tape, making sure the vinyl has properly adhered.
We hope you found this helpful. For any doubt about the application tape for self-adhesive vinyl, please contact our Customer Service department. You can also leave a comment, we will be delighted to hear from you.
Lastly, remember to subscribe to this Blog, to our YouTube channel and follow us on Instagram if you want to get inspired and keep learning about different techniques.
Thanks for being there!
WE WANT TO KNOW WHAT YOU THINK

You may also like