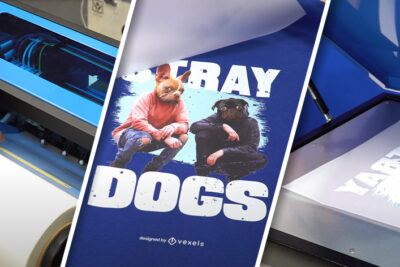
🙅♂️ Avoid printing problems with DTF ColorBoost
🙅♂️ Avoid printing problems with DTF ColorBoost
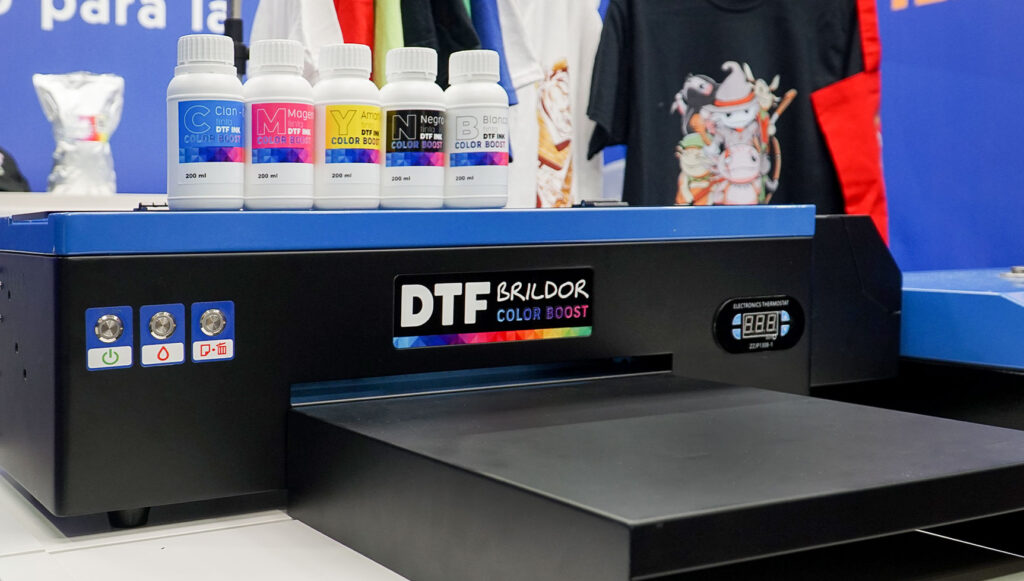
The DTF technique has made a great impact in the field of personalization, but there were some areas for improvement. Therefore, as this technique evolves, advances in equipment and its application are being introduced .
We explain all the new features of the DTF ColorBoost DTF ColorBoost printer and the oven specialized oven for powder film curing.
ColorBoost DTF system enhancements
As you know, one of the drawbacks of DTF is the clogging of the printheads due to white ink sediment, which impedes printing. Let's look at the different improvements that mitigate this and other problems:
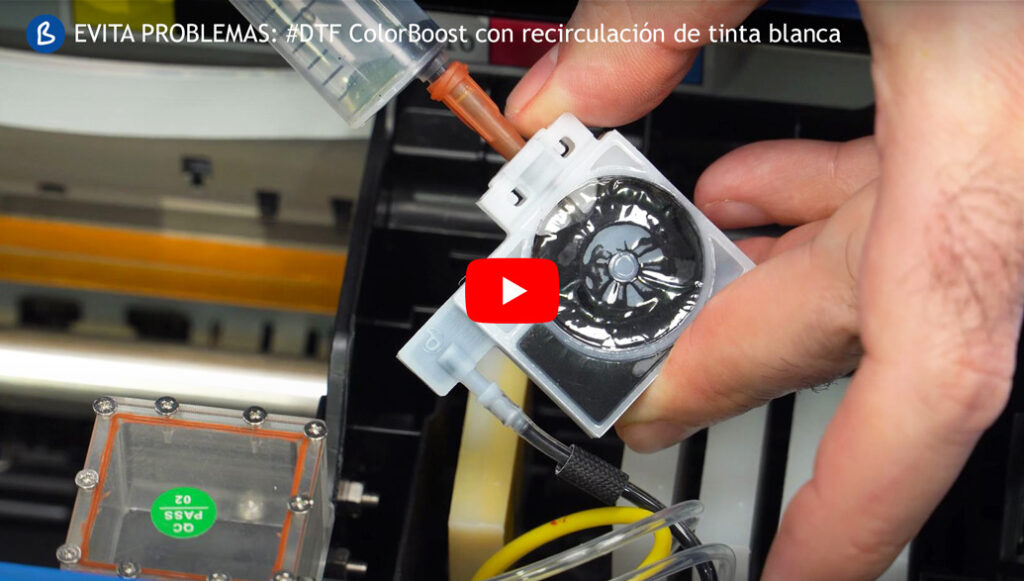
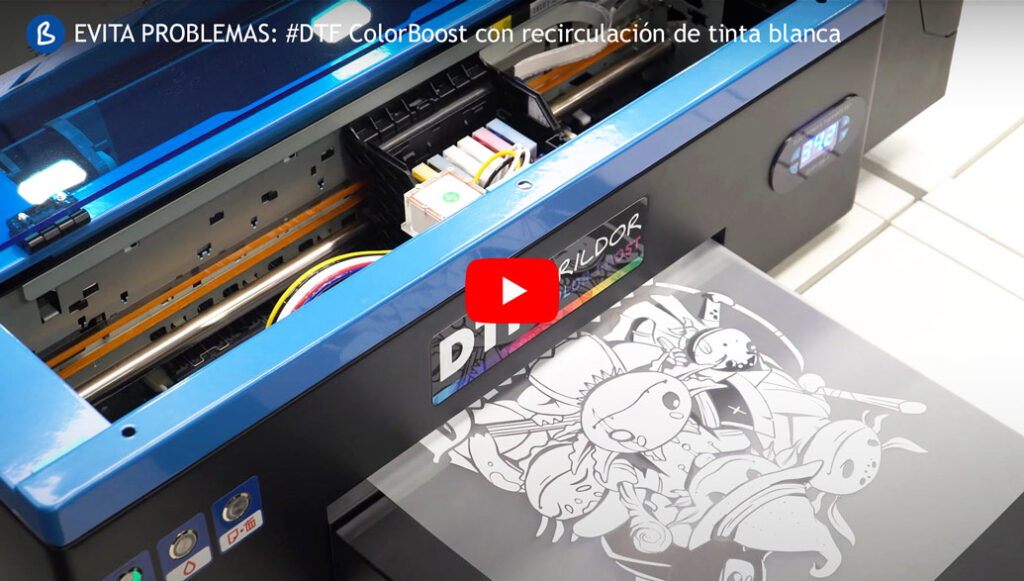
- DTF white ink recirculation to prevent printhead clogging: The DTF ColorBoost printer has a white ink recirculation system. In this way, the ink circulates from the tank to a small reservoir located before reaching the printhead. It is then distributed to the dampers and recirculated back to the tank by the built-in pump. This improvement prevents the white ink from settling and damaging the printhead.
- Small dampers with microfilters to avoid sedimentation: In this new version, the dampers are smaller so that the inks are constantly coming out and avoid sedimentation. In addition, it has microfilters inside to facilitate this process.
- Elimination of the front rollers: The front rollers that the printer has in its original version have been eliminated. This avoids printing marks known as ant trails.
- Heated front side for improved color drying: The ColorBoost printer has a thermostat in the output slot that heats the underside of the film. Thanks to this improvement, colored inks are fixed and prevented from mixing with the white ink layer.
- Temperature and humidity sensor: The printer has a built-in temperature and humidity meter. It is very important that the working place has a humidity above 50% and is between 20ºC and 30ºC, if it is below 15ºC, the ink will not give good results. Therefore, when a print goes wrong, we can know if it is because of the room conditions. Activating this kind of clock is very simple, just loosen the 5 upper screws of the chassis to release it and insert a LR44 button cell battery.
- Detachable and accessible chassis: Also noteworthy is the progress in design. Now, the chassis is more functional, something very important to be able to perform maintenance and have access to all the components to be able to replace them easily.
- Spare parts included: With the purchase of the machine, the following spare parts are included: two spare dampers, film feed system rubbers, ink circulation tubes and a spare pump. In addition, as with all DTF printers, the recommendation is to use them daily, but you can leave it off for weeks without damaging the printhead, as it also includes a set of empty cartridges that you will use with a special liquid to clean the printheads.
Printer installation step by step
Now that you know the improvements, it's time to load the inks and start the machine. With these 10 simple steps you will have your printer ready in a few minutes:
1️⃣ Open the lid where the tanks are located and remove the waste ink tank and holder.
2️⃣ Fasten this bracket to the back of the printer with the two screws that are built into the printer. Now, place the waste reservoir inside the holder and insert the ink tube by removing the flange at the end of the tube.
3️⃣ Shake the inks and fill the tanks. Each tank is marked with the color to be inserted.
4️⃣ When filled, take the syringe and add the plastic tip. Take out a damper and soak up the ink until it is completely filled and enters the syringe. Repeat the operation on all dampers to fill them.
5️⃣ Now, place the syringe into the waste ink tube and draw up until ink comes out.
6️⃣ To avoid ink stains on the table, place the included silver tray under the printer.
7️⃣ Open the lid and insert the included wipe or a sponge in the ink discharge area. Remember to change it from time to time.
8️⃣ Place the front tray and connect the power and usb cable.
9️⃣ Install the drivers from the pendrive. Choose those of the r1390 and perform the installation following the steps on the screen. To turn it on you must connect the rear switch and the front button.
Finally, add the printer to Digital Factory DTF Edition. Just go to 'Manage Devices' and choose the l1800 DTF which is valid for the r1390.
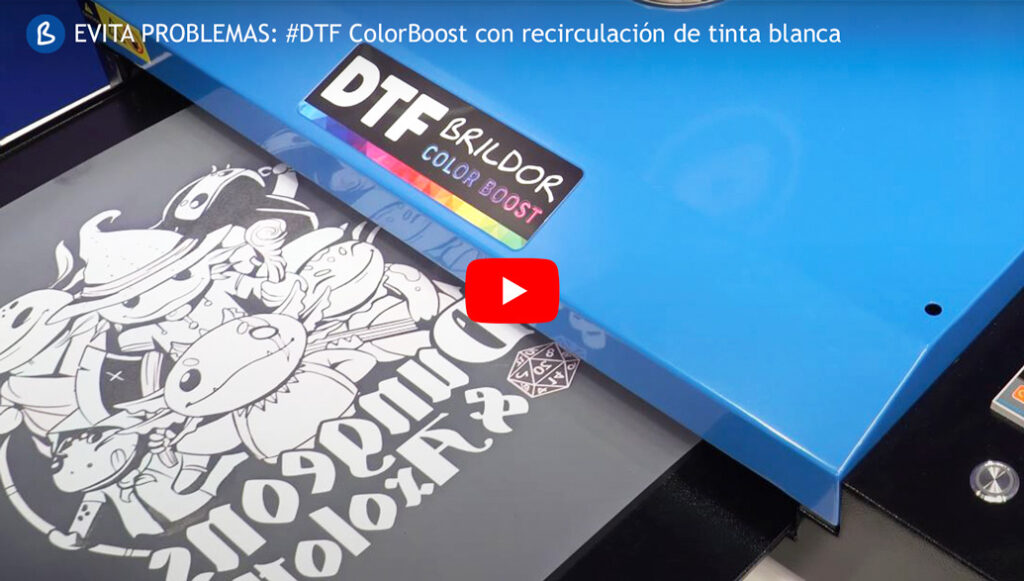
Here is a visual explanation of how to install the printer:
Printing using CADlink Digital Factory DTF Edition
When printing the design on the film we recommend you to do it with the professional CADlink Digital Factory v10 DTF Edition software. This system allows total control of the image to achieve quality prints, in addition to optimizing the printing process. These are some of its most outstanding advantages:
- Ensures that the design does not change color when applied to the textile by creating an optimal white mask.
- When printing on black garments, the KnockMeBlackOut preset eliminates black areas of the design, saving ink. Likewise, the white garment preset does not print white.
- The KnockMeColorOut plug-in allows you to select and remove up to 4 colors from the design with a single click. Thus, if you are printing on a green T-shirt, you can turn off this color.
- Increase the resolution of images to avoid visible pixels in non-vector images with the 'Super Size Image' option.
- Controls the flow of white and color ink to optimize consumption and calculate cost per print.
- Real-time reporting of injector status , automatic head cleaning scheduling and maintenance alert notifications.
Once the design is printed you must apply the DTF powder. To do this, spread the polyurethane particles on the drawing so that they stick to the wet ink. Then shake the film to remove excess powder. Remember that the leftover can be reused.
DTF ColorBoost oven curing and film embossing
Another interesting new addition to our DTF Printing category is the ColorBoost oven. In the past, to cure the film it was necessary to use a plate with a vertical lowering top plate. Now, with this oven you can cure the DTF film . Thanks to the heat it produces, the powder melts to create the adhesive layer needed to transfer the design.
It is very easy to use. All you have to do is turn on the oven and set the time and temperature. Once hot, place the film on the tray and start the countdown.
When you hear a beep, remove the film and check that all the powder is cured, if not, bake again for a few more seconds. It is recommended that you test to reach your optimal parameters. It should be noted that this machine can cure film sheets up to 35 x 45 cm, so it covers formats larger than A3+.
Once cured, the only thing left to do is to stamp the film on the garment. In this video you can see step by step the application on various fabrics:
Don't forget to subscribe to this Blog and to our Youtube channel because soon you will be able to learn more about maintenance, how to clean the heads and the replacement of components so that you will be able to solve the problems in a simple and effective way.
If you have any questions or if we have left anything out, leave us a comment so we can help you. You can also contact our Customer Service department.
Remember to check our social media, where we post plenty of ideas, offers and news from all areas of personalisation. Follow us on Instagram and Facebook to make sure you don't miss anything.
If you liked it, don't leave without leaving your five stars!
See you soon in a new post!
WE WANT TO KNOW WHAT YOU THINK

You may also like