


🪵Customising wood: which technique is the best for you?
🪵Customising wood: which technique is the best for you?
If you've experienced issues with design adhesion, dull colours, or burnt engravings when customising wood, you're not alone. Wood reacts differently depending on its type, treatment, and the technique used.
To assist you, we have gathered practical tips and tricks to achieve flawless finishes in each of the techniques.
ÍNDICE
Customising Wood with Sublimation
Sublimation cannot be applied directly onto wood because it lacks the necessary polyester coating for the ink to adhere. To make it work, you can use pre-coated polyester wood or apply sublimable varnish to make the surface suitable for sublimation.
🔥 Useful Tips:
- If you use sublimation spray, apply several thin layers instead of one thick layer to avoid bubbles.
- Use light wood with minimal grain to ensure the colours appear more vibrant. On dark wood or wood with heavy grain, sublimation loses intensity.
- Control the time and temperature when sublimating: too much heat can scorch the wood or warp it if it is very thin.
In the post “How to make surfaces sublimable with Subli Glaze sprays” we explain how to transform non-sublimable surfaces into items ready for printing. You can also watch this video where we demonstrate its use:

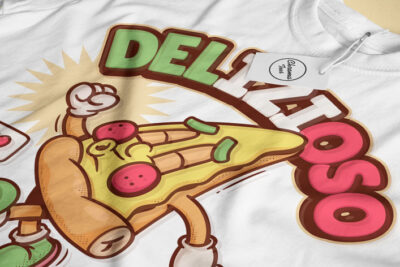
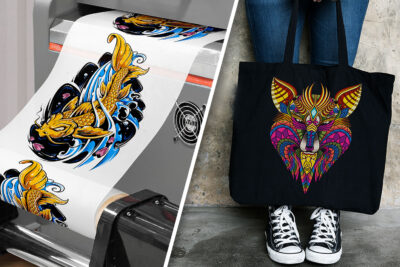
DTF Printing on Wood
Unlike sublimation, DTF adheres to any type of wood without the need for a prior coating. The key lies in the layer of thermofusible adhesive, which allows the ink to be fixed to almost any surface. However, the texture of the wood affects the final finish. We invite you to read more about this technique in: "How to personalise wooden products with DTF".
🔥 Useful Tips:
- Sand the wood before applying the DTF to improve adhesion and prevent irregularities.
- Do not use woods with glossy varnish, as the DTF film may peel off more easily over time.

Laser Engraving and Cutting
The laser burns the wood's surface to create the design, so the type of wood affects the outcome. Dense woods produce more defined engravings, whereas resinous woods may cause errors and smoke that impact the cleanliness of the engraving.
🔥 Useful Tips:
- For a darker engraving, increase the laser power and decrease the head speed.
- Avoid unnecessary burns by conducting preliminary tests.
- If the engraving produces soot, clean it with a damp cloth and isopropyl alcohol to prevent stains.


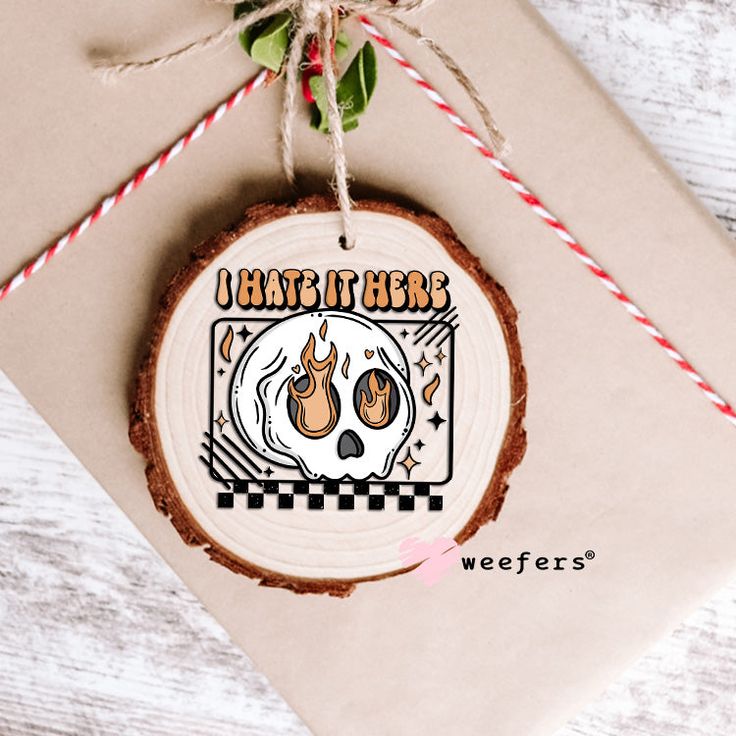
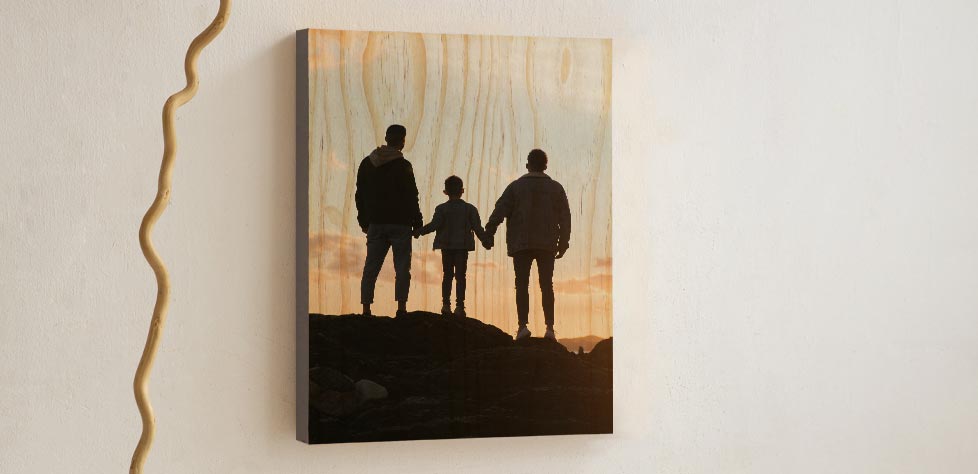
UV Printing or UV DTF
The UV printing directly prints the design onto the wood and adheres well because the ink is instantly cured with ultraviolet light. However, on rough surfaces, the ink may accumulate and create an unwanted embossed effect.
🔥 Useful Tips:
- If the wood has pronounced grain, use a coat of primer to achieve a more even print.
- Test different levels of white ink on dark backgrounds to enhance the design's contrast.
- Avoid very porous woods, as they can absorb the ink and affect the sharpness of the print.
If you are looking for a unique tactile effect with 3D embossing, UV DTF printing is the ideal option. This technique combines the high resolution and vivid colours of UV printing with an embossed finish that stands out to the touch.
In addition to its visual impact, it stands out for its superior resistance to scratches and water, making it perfect for frequently used products. Its ability to capture fine details with precision and its premium finish make it an ideal alternative for logos and complex designs seeking a distinctive and durable touch.
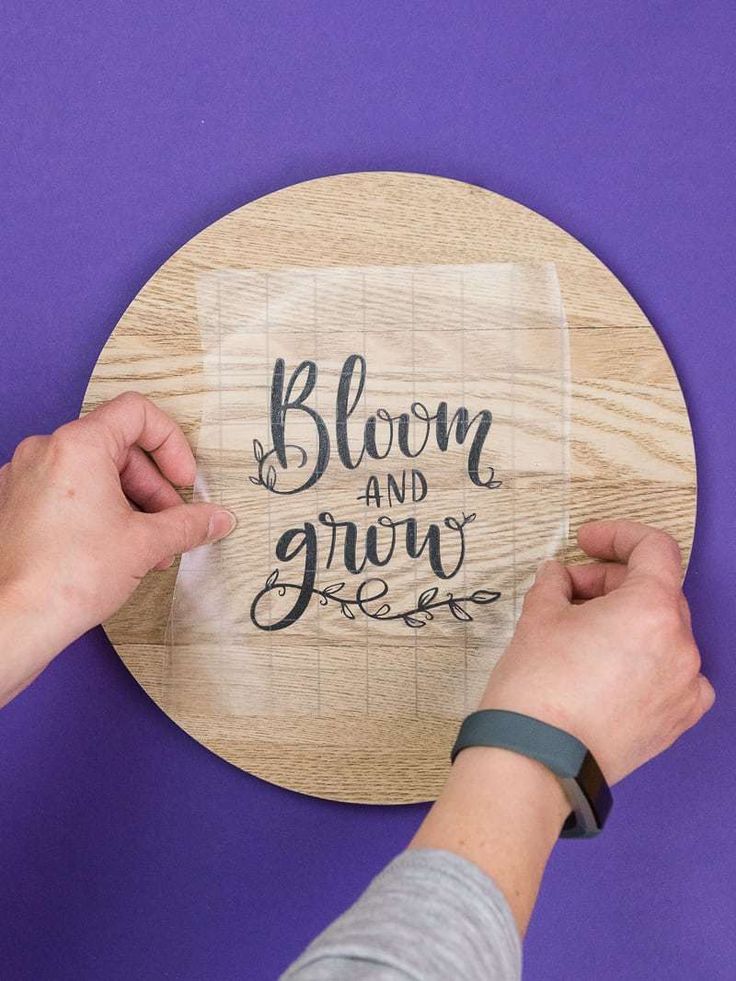
Adhesive Vinyl
The adhesive vinyl does not integrate with the wood but rather sticks on top of it, so the surface texture affects the adhesion. On porous wood, the vinyl may peel off over time.
🔥 Useful Tips:
✔ Use a matte varnish before applying the vinyl if the wood is very porous.
✔ If the wood has a texture, use high-adhesion vinyl.
✔ You can use resin drop after sticking the vinyl to enhance its durability.
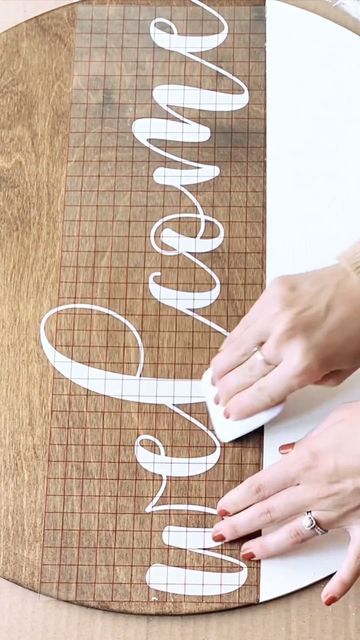
Washafix
Washafix is a repositionable adhesive material that adheres to wood without the need for permanent glue. Its great advantage is that it can be removed without leaving any residue, making it ideal for temporary decorations or frequent design changes. However, its adhesion depends on the texture of the wood: it may peel off easily on porous or rough surfaces, whereas it adheres better to lacquered or varnished woods.
🔥 Useful Tips:
- If the wood is rough or porous, you can apply a layer of matte varnish to improve adhesion.
- Avoid using Washafix outdoors, as temperature changes and humidity can cause it to lose its adhesion.
- If the design does not adhere well, press with a rubber spatula to improve the adhesion without damaging it.
- Clean the wood with a dry cloth before applying Washafix, as dust or grease can reduce its adhesion.

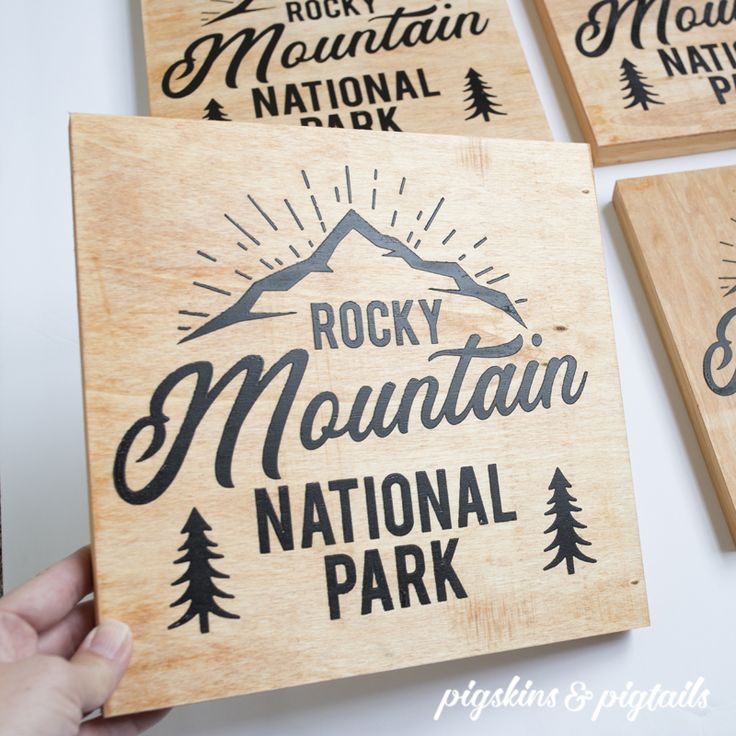
Multi-Trans Paper
The Multi-Trans paper is a heat transfer technique that allows images and texts to be applied to hard surfaces such as wood. Unlike sublimation, it does not require a special coating, but its adhesion depends on the material's absorption. On very porous woods, the ink may spread or lose intensity, whereas on smoother surfaces, the finish is sharper.
🔥 Useful Tips:
- If the image does not transfer completely, increase the pressure and heat time when applying it.
- Use light-coloured woods to keep the colours vivid and bright. On dark woods, the visibility of the design may be reduced.
- Apply a protective varnish after the transfer if the customised item will be subject to frequent use.


Screen Printing
The screen printing ink can be absorbed unevenly on porous woods, which may affect the uniformity of the design. For best results, it is recommended to apply a primer to help stabilise the surface beforehand.
🔥 Key Tips:
- For woods with pronounced grains, choose thicker stains to prevent seepage and achieve an even coverage.
- If the colour does not set well on the first application, apply several layers of ink to improve opacity.
- Apply a protective varnish to enhance the durability of the design and prevent wear from friction or moisture.
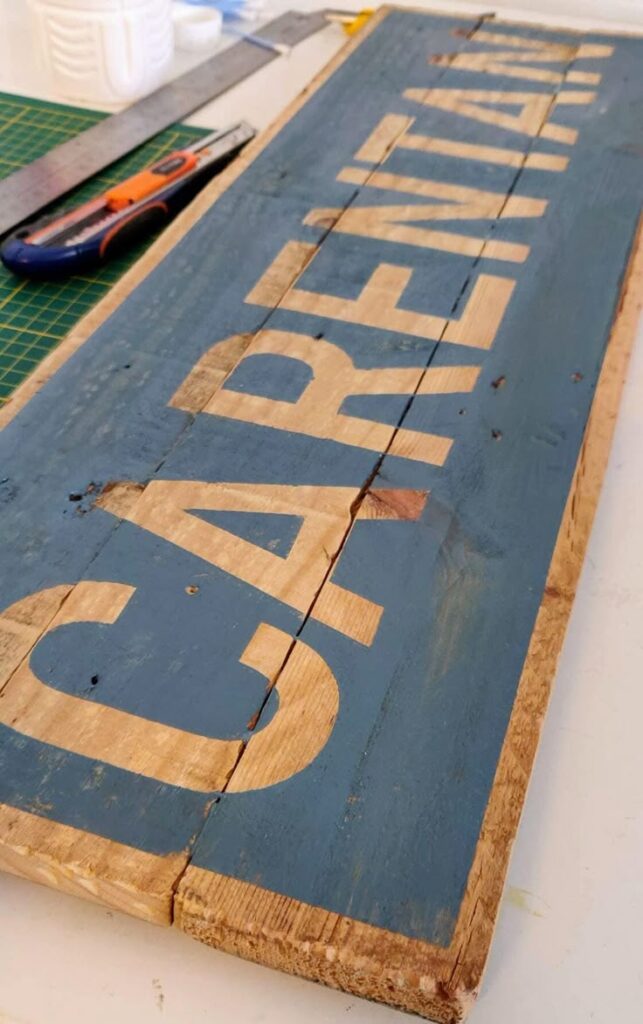
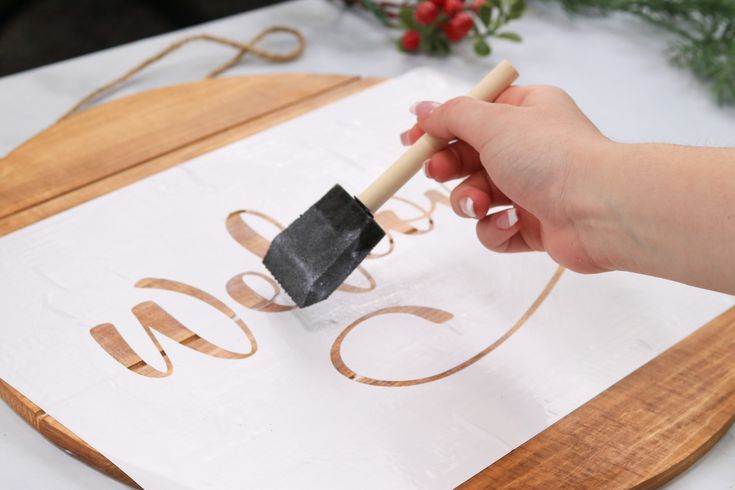
Stencilling on Wood
Stencilling is a customisation technique that allows for creating defined designs on wood using templates. It can be applied with spray or liquid paint and is ideal for achieving repetitive patterns, logos, or decorative details with precision. However, proper wood preparation and correct paint application are key to avoiding seepage and achieving sharp edges.
🔥 Key Tips:
- Prepare the surface: If the wood is porous, apply a coat of primer to prevent the paint from being absorbed unevenly.
- Secure the stencil well: Use low-tack tape to prevent movement and minimise seepage.
- Apply the paint in thin layers: Whether using a brush, sponge, or spray, use a small amount of paint and work with light touches to prevent it from accumulating and seeping under the stencil.
- Carefully remove the stencil: Do this before the paint fully dries to prevent it from lifting with the stencil.
- Final protection: For enhanced durability, seal the design with a matte or satin varnish depending on the finish you desire.
As you have seen, the key is to properly prepare the surface, choose the right technique for the type of wood, and apply protective finishes if necessary. Which of these techniques will you try in your next project?
If you have any questions or queries, please feel free to leave a comment. We are here to assist you. You can also contact our Customer Service team for more information or to address any concerns.
Additionally, we post daily on our social media platforms with ideas, offers, and updates on various personalisation techniques. Follow us on Instagram and TikTok to stay updated with all the latest, and don't forget to subscribe to our YouTube channel to continue learning with us.
See you in the next post!
👇 Other articles that may be of interest to you: 🪵How to customize wood products with DTF
🪵How to customize wood products with DTF⚠️ Did you know that personalizing can be dangerous? Find out how to protect yourself!
🤯 5 most common problems in sublimation
🤯DTF Printing vs. Heat transfer vinyl
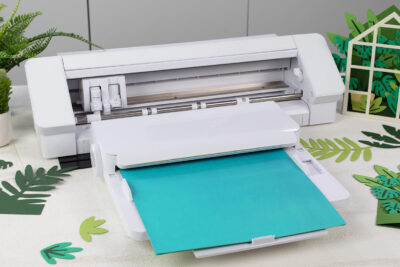
Create Even More With The Silhouette Auto Sheet Feeder
WE WANT TO KNOW WHAT YOU THINK
You may also like