Search
€13.95
VAT not included
/ Each Unit
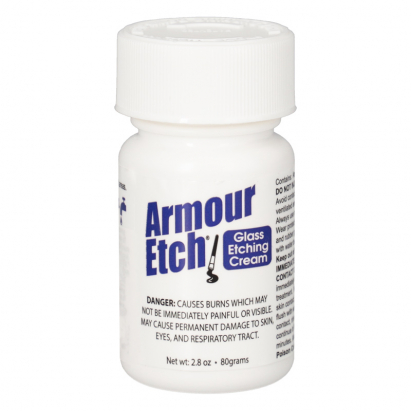
Glass Engraving Paste - 2,8oz (80gr) Jar
Ref.
033286
Paste for etching glass designs with a frosted effect permanently on windows, glass, and mirrors.
- Easy to apply
- Etched items are dishwasher and microwave safe
Availability:
Immediate: 35 units
Please, give us an estimate of the quantity you need:

As a Premium Brildor Member, for each unit you buy, you will accumulate {{POINTS}}
to redeem on your next order. Discover the Brildor Loyalty Program.
For each unit you buy, you will accumulate {{POINTS}} to redeem
on your next order. Discover the Brildor Loyalty Program.
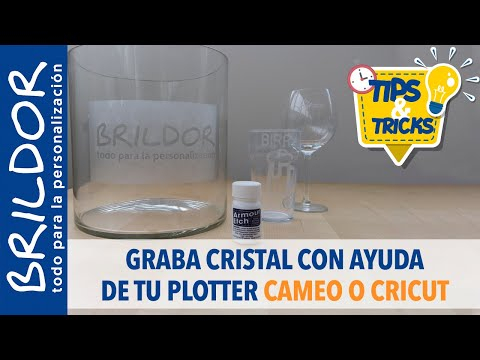 HOW TO ETCH GLASS with CAMEO or CRICUT
Related Products

More information about the Glass Engraving Paste - 2,8oz (80gr) Jar
INDEX
INSTRUCTIONS FOR USE
- Clean the surface where you will apply the paste to remove any grease, fingerprints, or dust
- Create the design using your cutting plotter software or your preferred design program
- Prepare the design stencil using sign vinyl. Cut with a plotter or scissors
- Carefully place the stencil on the object to be customised, ensuring it is well adhered
- Shake the etching paste
- Apply a thick layer of paste over the design to be etched, taking care not to go outside the stencil. It will take effect in a few minutes
- Remove the paste with warm water. It is important to completely remove the etching paste, otherwise, residue may remain, and the design could be blurred
- Then remove the stencil
- Finally, dry the surface
THINGS TO KEEP IN MIND
- Not suitable for acrylic or methacrylate plastics, glass, or Pyrex material
RECOMMENDATIONS
- The frosted or etched finish depends on the application time; we recommend conducting your own tests
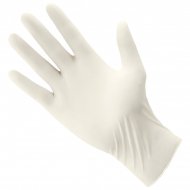
- Use rubber gloves and protective goggles when applying the etching cream
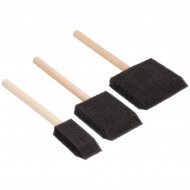
- Armour Etch Cream contains crystals that can create darker areas if they come into contact with the glass. To avoid this, "comb" the paste with a brush, moving the crystals to areas without design
- If the paste has many crystals, dissolve them with heat by placing the closed jar in hot water and shaking it occasionally until they mix
| Ref. | 033286 |
|---|---|
| Gross Weight (kg) | 0.100 |
| Billable Weight (kg) | 0.0930 |
Write Your Own Review
Post your question