Heidi Swapp - Minc 12" Foil Applicator
Heidi Swapp - Minc 12" Foil Applicator
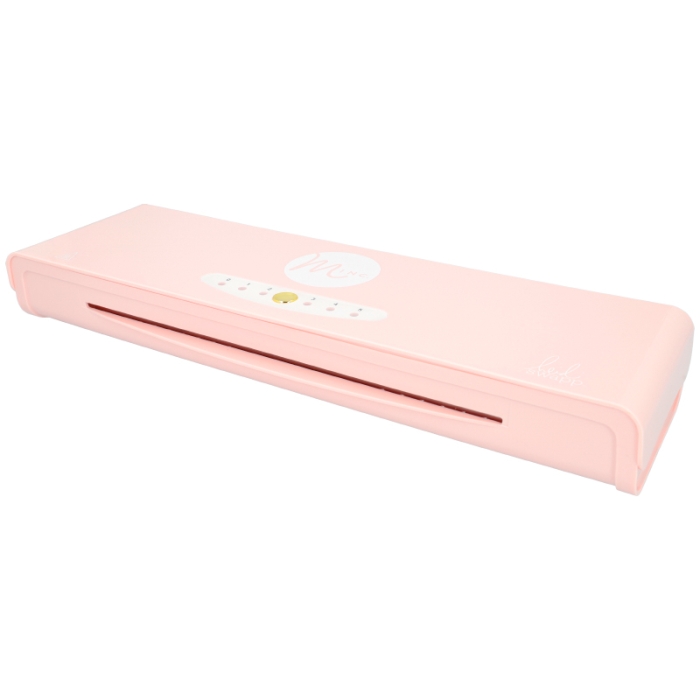
Heidi Swapp Minc Foil Applicator designed to transfer reactive foil onto paper, cardstock, plastic film and more. It works as a laminator. Very useful for crafting and scrapbooking projects.
- Resistant pink plastic structure.
- Suitable for materials up to 0.6 mm thick.
- Maximum work space: 33 cm (12")
More information
https://www.brildor.com/en/heidi-swapp-minc-machine-12-foil-applicator
43411
Heidi Swapp - Minc 12" Foil Applicator
<p><a name="know-more"></a></p>
<h2>More information about the Heidi Swapp’s 12” Minc Foil Applicator</h2>
<ul>
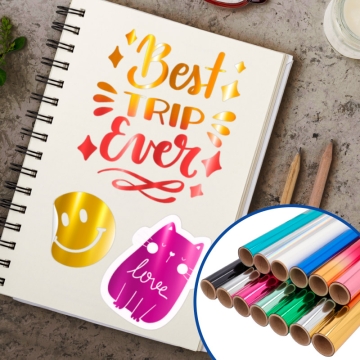
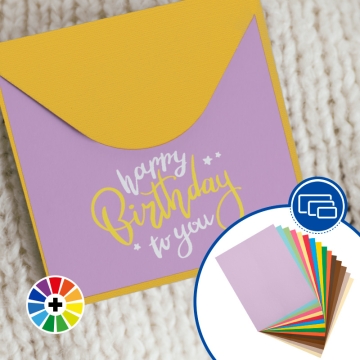
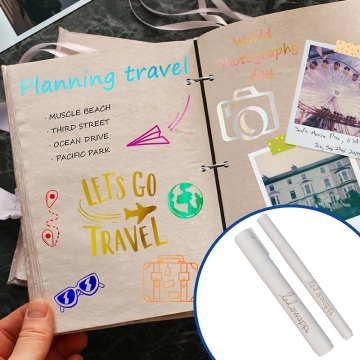
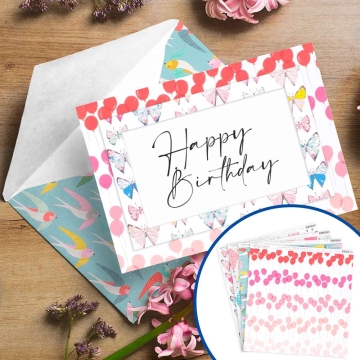
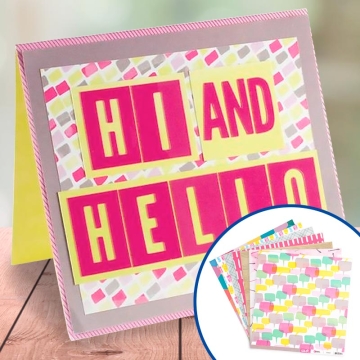
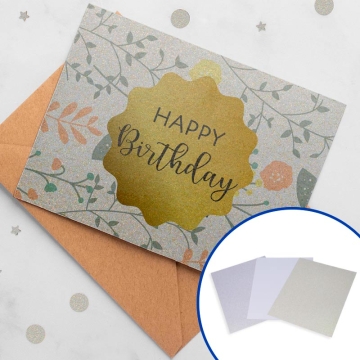
<li>ideal for adding metallic touches to labels, stickers, cards, folders, bookmarks, diary and notebook covers and so on.</li>
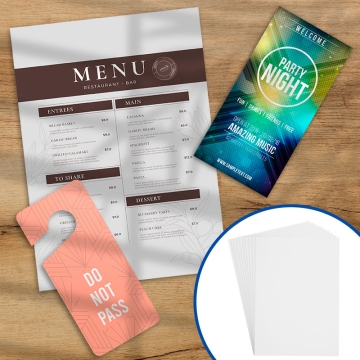
<li>Suitable for heat foiling the areas of the material where there is toner powder. The design where the foil will be applied with the machine must be pre-printed with a laser printer.</li>
<li>Includes a transfer folder to hold the project and prevent it from creasing when it is introduced into the laminator.</li>
<li>5 settings to adjust the temperature according to the thickness of the material.</li>
<li>Comes in a cardboard box.</li>
</ul>
<p><strong>THINGS TO KEEP IN MIND</strong></p>
<ul>
<li style="border: 0px; font: inherit; margin: 0px; padding: 0px; vertical-align: baseline;">In addition to laminating with foil or other materials, the Heidi Swapp Minc can also be used to laminate documents. This requires just 2 special foil sheets, you have to place one on each side of the paper and feedi them into the machine.</li>
<li style="border: 0px; font: inherit; margin: 0px; padding: 0px; vertical-align: baseline;">The transfer folder is only required for laminating.</li>
</ul>
<p><strong>WHAT DOES THIS MACHINE INCLUDE?</strong></p>
<table>
<tbody>
<tr>
<td>1</td>
<td>Heidi Swapp - Minc 12" Foil Applicator</td>
</tr>
<tr>
<td>1</td>
<td>30 x 30 cm transfer folder</td>
</tr>
<tr>
<td>1</td>
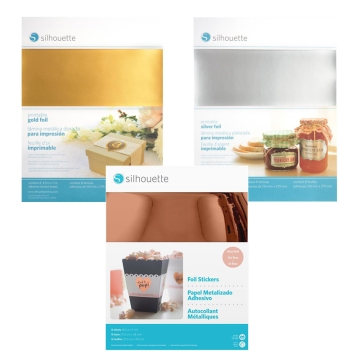
<td>Gold reactive fold sheet</td>
</tr>
<tr>
<td>3</td>
<td>Starter tags</td>
</tr>
<tr>
<td>1</td>
<td>Plug adaptor</td>
</tr>
<tr>
<td>1</td>
<td>User manual</td>
</tr>
</tbody>
</table>
<p><strong>TECHNICAL DETAILS</strong></p>
<table>
<tbody>
<tr>
<td>Machine</td>
<td><span class="azul-negrita">47.3 x 7 x 14.6 cm</span></td>
</tr>
<tr>
<td>Work space width</td>
<td><span class="azul-negrita">33 cm</span></td>
</tr>
<tr>
<td>Heating time (max.)</td>
<td><span class="azul-negrita">1 minute<br></span></td>
</tr>
<tr>
<td>Heating time (min.)</td>
<td><span class="azul-negrita">2.5 minutes<br></span></td>
</tr>
<tr>
<td>Automatic shut-off</td>
<td><span class="azul-negrita">90 minutes<br></span></td>
</tr>
<tr>
<td>Working speed</td>
<td><span class="azul-negrita">30 cm/min<br></span></td>
</tr>
<tr>
<td>Max. temperature</td>
<td><span class="azul-negrita">160ºC<br></span></td>
</tr>
<tr>
<td>Power supply</td>
<td><span class="azul-negrita">100∼ 120 V<br></span></td>
</tr>
<tr>
<td>Motor noise</td>
<td><span class="azul-negrita"><60 dB<br></span></td>
</tr>
<tr>
<td>Packaging</td>
<td><span class="azul-negrita">57.3 x 20 x 9.6 cm</span></td>
</tr>
<tr>
<td>Weight</td>
<td><span class="azul-negrita">3.611 kg</span></td>
</tr>
</tbody>
</table>
<p><strong>INSTRUCTIONS FOR USE</strong></p>
<ol>
<li>Switch on the machine and use the gold button to select the setting.</li>
<li>Wait for the red light to change to green. This means it is ready to work.</li>
<li>Print your design with a laser printer.</li>
<li>Cut the foil to the size of the design. It should cover its entire surface.</li>
<li>Open the transfer folder and place the material in the centre.</li>
<li>Lay the foil over the design. Make sure the metallic side is facing upwards.</li>
<li>Close the transfer folder and smooth out the ripples, making sure that the printer toner is completely covered.</li>
<li>Feed the transport folder through the front slot until it meets the rollers.</li>
<li>Wait for it to come out of the back slot.</li>
<li>Take your project out of the folder and remove the foil to reveal the result.</li>
</ol>
<p><strong>RECOMMENDATIONS FOR USE</strong></p>
<ul>
<li>Avoid using materials thicker than 0.6 mm.</li>
<li>Test the machine with scrap sheets before final foil application.</li>
<li>Cover the whole printed design to prevent toner from sticking to the transfer folder when it gets hot.</li>
<li>Feed the transport folder in as straight as possible. In case of a jam, use the forward and reverse switch.</li>
<li>Place thicker projects on the joint of the transfer folder.</li>
<li>Avoid laminating staples, clips, clasps, eyelets and any other type of metallic object. </li>
</ul>
https://www.brildor.com/media/catalog/product/m/i/minc-machine-12-heidi-swapp-maquina-aplicacion-foil.jpg
119
outofstock
119
119
0
0
0
0
0
https://www.brildor.com/media/catalog/product/m/i/minc-machine-12-heidi-swapp-maquina-aplicacion-foil.jpg
22048
25175
27471
27711
27879
27894
27976
42372
42888
43339
43355
43420
43430
43516
43621
44026
/Arts & Crafts
/Arts & Crafts/Machines
2022-01-17T13:29:19+0000


