https://www.brildor.com/en/sublimable-windmills53679Sublimable Windmills<p><a name="know-more"></a></p>
<h2>More information about the Sublimable Windmills</h2>
<p> </p>
<p><strong>INDEX</strong></p>
<p>> <a href="#know-more1">Description</a></p>
<p>> <a href="#know-more2">Things to keep in mind</a></p>
<p>> <a href="#know-more3">Template for customisation</a></p>
<p>> <a href="#know-more4">Assembly instructions</a></p>
<p>> <a href="#know-more5">Measurements</a></p>
<p>> <a href="#know-more6">Recommended sublimation instructions and parameters</a></p>
<p> </p>
<p class="enlace"><a id="know-more1"></a> </p>
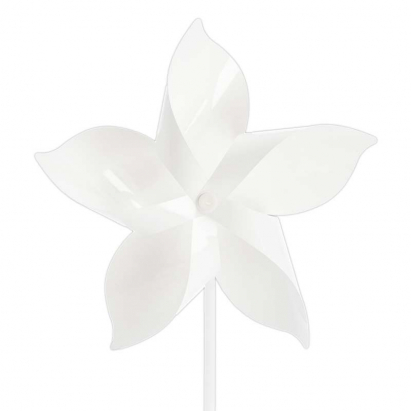
<p><strong>DESCRIPTION</strong></p>
<ul>
<li>Include them in your product catalogue for customisation at fairs, exhibitions, merchandising...</li>
<li>All parts are made of white plastic</li>
<li>Delivered unassembled to facilitate customisation</li>
<li>Easy assembly, no tools required</li>
</ul>
<p> </p>
<p class="enlace"><a id="know-more2"></a> </p>
<p><strong>THINGS TO KEEP IN MIND</strong></p>
<ul>
<li>The windmill should be assembled after sublimation, as the plastic parts may be damaged by heat</li>
</ul>
<p> </p>
<p class="enlace"><a id="know-more3"></a> </p>
<p><strong>TEMPLATE FOR CUSTOMISATION</strong></p>
<p><a href="https://tinyurl.com/27y9pd5w" target="_blank" rel="noopener">Windmill template (.pdf - 0.87 MB)</a></p>
<p> </p>
<p class="enlace"><a id="know-more4"></a> </p>
<p><strong>ASSEMBLY INSTRUCTIONS</strong></p>
<ol>
<li data-start="498" data-end="532">Sublimate the windmill blades on both sides</li>
<li data-start="498" data-end="532">Assemble the rod or stand by inserting and pressing the central shaft</li>
<li data-start="784" data-end="871">Insert the perforated tip of each blade into the stopper</li>
<li data-start="498" data-end="532">Insert the shaft into the central hole of the windmill and press it with the stopper to secure it</li>
</ol>
<p> </p>
<p class="enlace"><a id="know-more5"></a> </p>
<p><strong>MEASUREMENTS</strong></p>
<table>
<tbody>
<tr>
<td><strong>Print area (per side) (cm)</strong></td>
<td><span class="azul-negrita">19 x 20</span></td>
</tr>
<tr>
<td><strong>Windmill (cm)</strong></td>
<td><span class="azul-negrita">20 x 40</span></td>
</tr>
<tr>
<td><strong>Rod (cm)</strong></td>
<td><span class="azul-negrita">Ø0.5 x 28</span></td>
</tr>
</tbody>
</table>
<p> </p>
<p class="enlace"><a id="know-more6"></a> </p>
<p><strong>RECOMMENDED SUBLIMATION INSTRUCTIONS AND PARAMETERS</strong></p>
<p>Parameters indicated are <strong>for guidance only</strong>. It is recommended to conduct preliminary tests to make necessary adjustments before starting production.</p>
<ul>
<li>Print the design in <strong>mirror mode</strong></li>
<li>Heat the press to <span class="azul-negrita">180 ºC</span></li>
<li>Place the windmill on the lower plate of the press and the printed side of the paper on the windmill</li>
<li>Close the press with a <strong>medium-high pressure</strong> for <span class="azul-negrita">60 seconds</span></li>
<li>Using a protective glove, remove the freshly printed windmill</li>
<li>Carefully remove the paper</li>
<li>Attach the rod to the already sublimated windmill</li>
</ul>https://www.brildor.com/media/catalog/product/m/o/molinillos-viento-sublimables-d10.jpg1.19instock01.19000https://www.brildor.com/media/catalog/product/m/o/molinillos-viento-sublimables-d10.jpg157402762753553/Blanks/Blanks/Parties2025-02-18T15:22:42+0000